
I don’t know anyone who likes to work on toilets. I don’t like to. But I do like saving money when I can, so work on a toilet I did. My Thetford Aqua Magic IV had a leaky blade seal. It wasn’t too bad. When we were out camping the bowl would hold water well enough. But parked in the driveway, it would all leak out in a day or so. The seal was dried out and beyond saving by the end of the winter storage season. I did a little research and found it was a fairly simple fix.
I found the owner’s manual with an exploded view of all the parts here: http://www.thetford.com/LinkClick.aspx?fileticket=gukQ4A9QBOo%3d&tabid=559&mid=1440 to help order the right parts. Then, I shopped online and found a good price at The Online Giant That Sells Everything Imaginable, But Will Remain Unnamed (I’m not an affiliate yet – no free advertising). The price was some cheaper than the RV supply houses around. The seal was about $7 and the closet bolt package was around $13. Shipping was free because I finally ordered the tire covers to protect from the brutal Texas sun.
If you have ever worked on a household toilet you’ll find RV toilets a breeze. Apply antiseptic spray as needed to kill the squeamishness. I did mine at the end of winter season so the tank was empty and it had been months since it had been used. That helped reduce smells, etc.
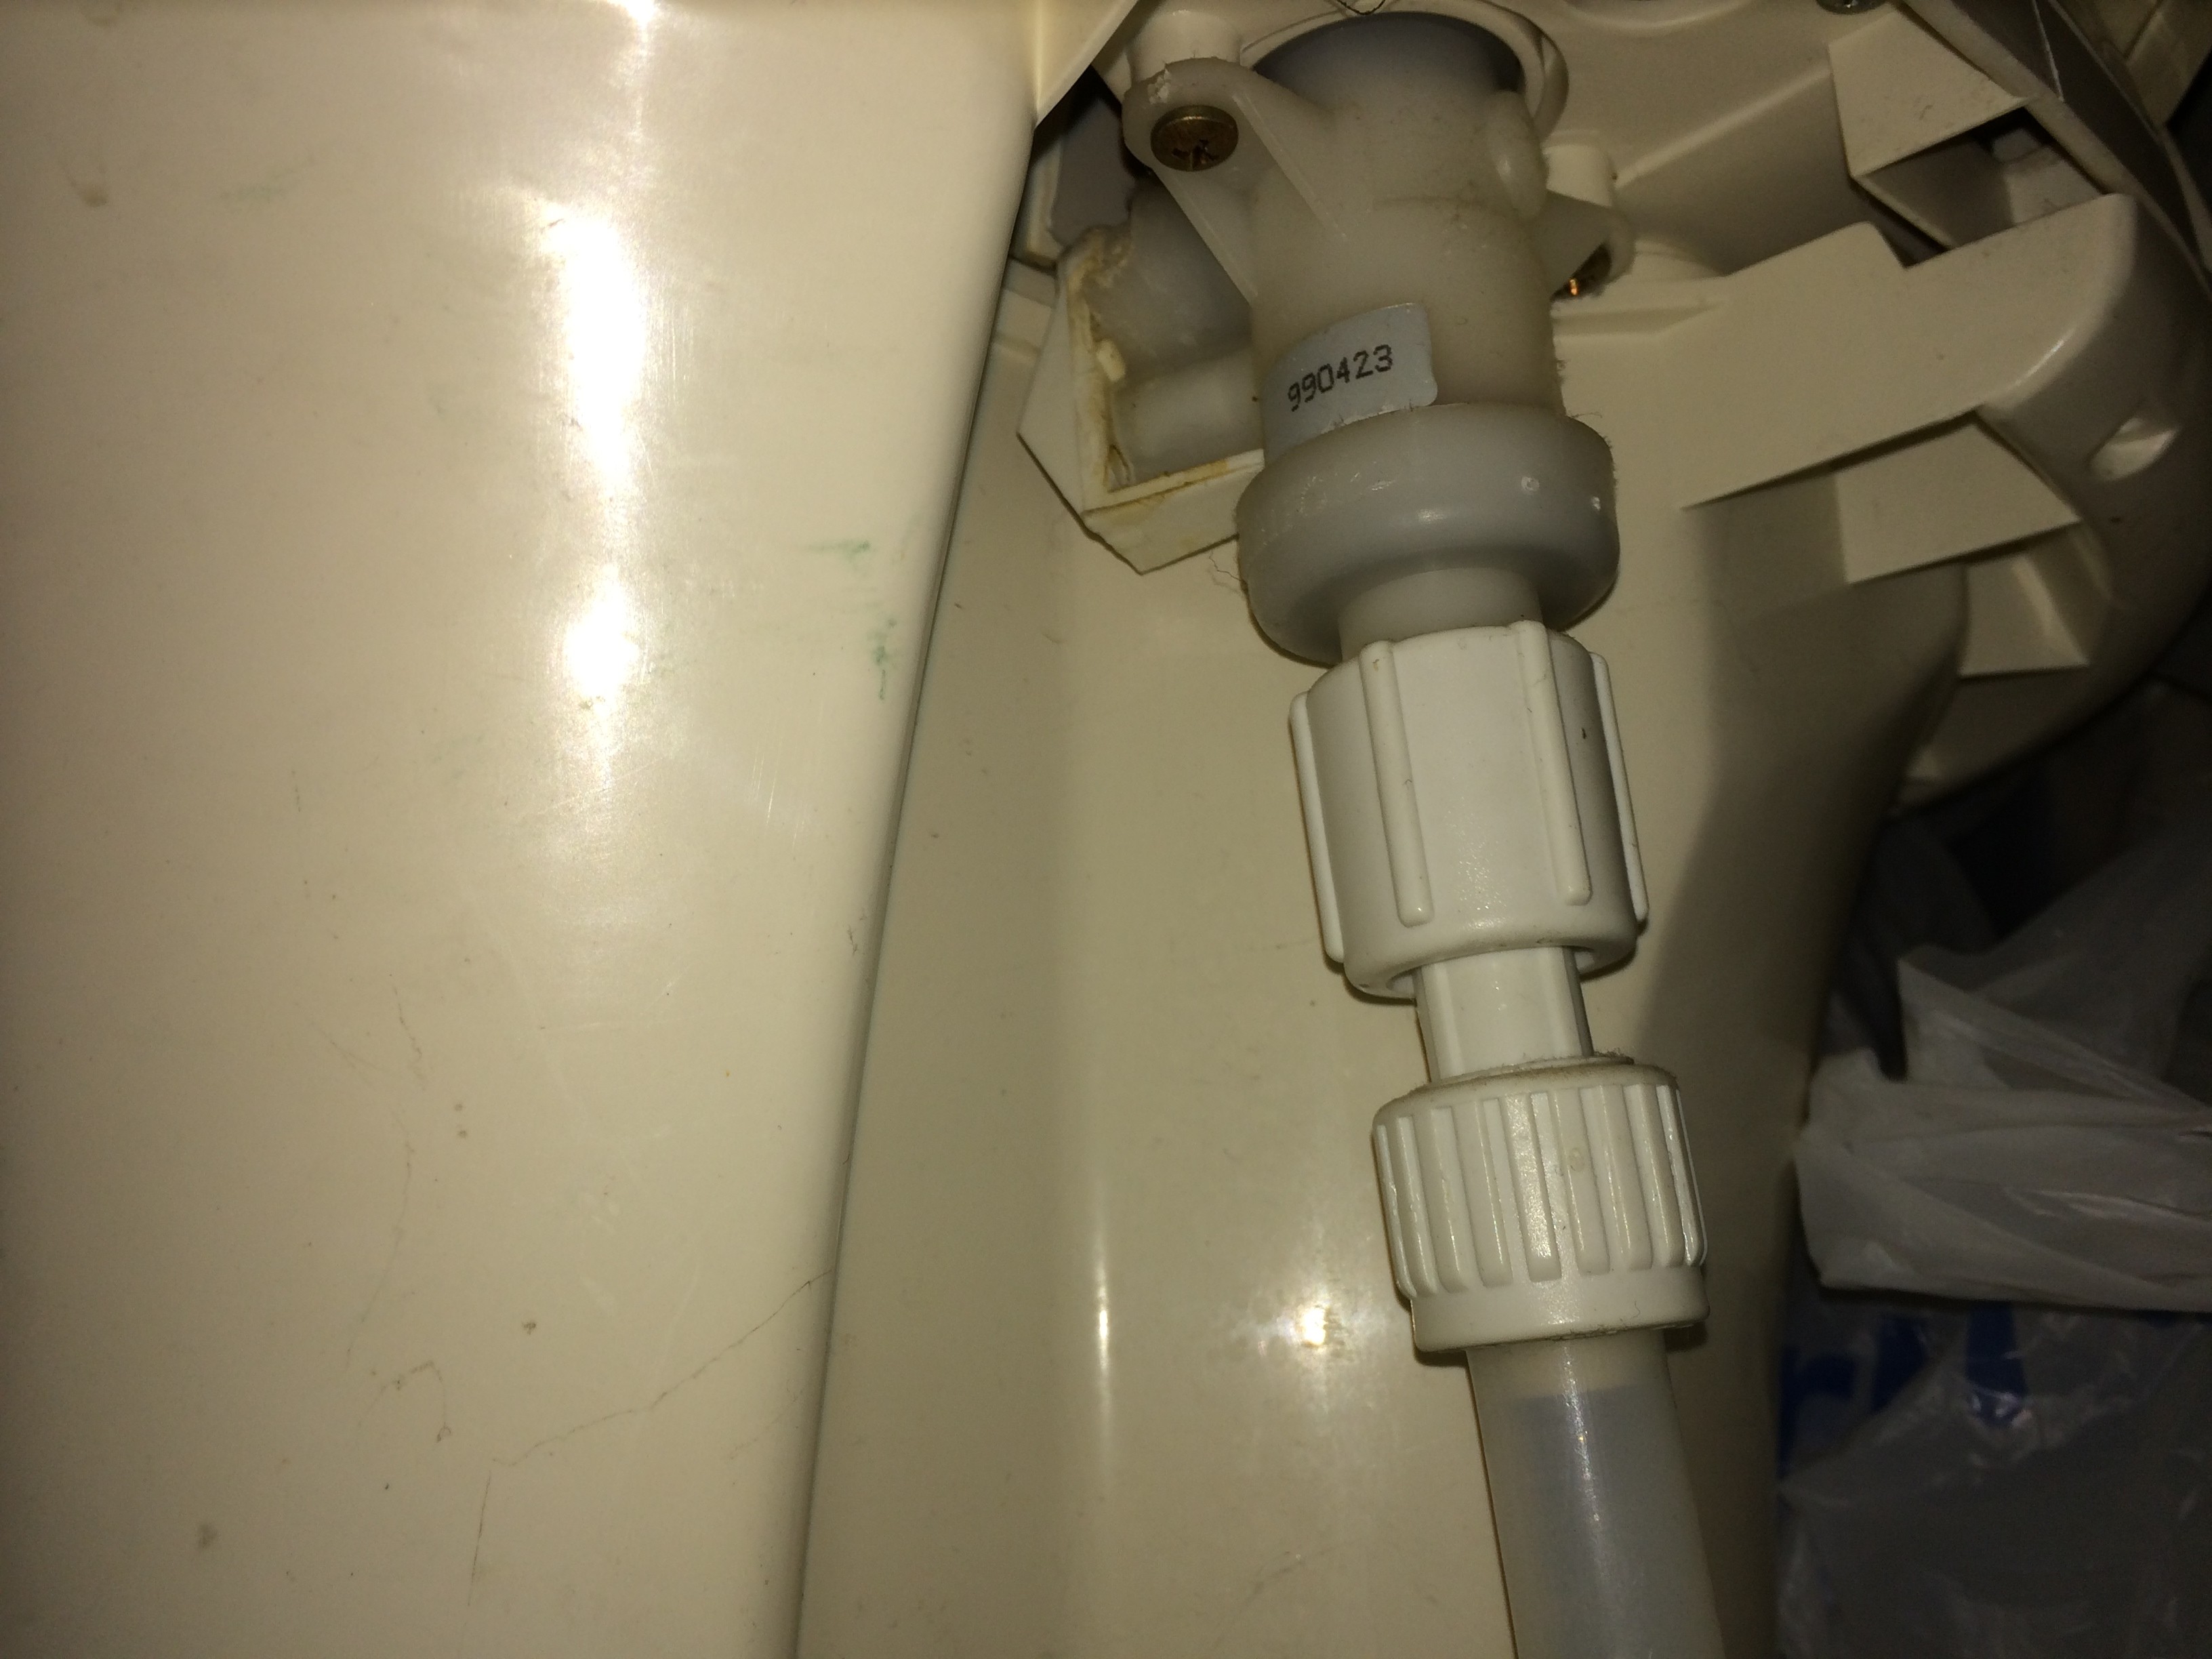
The procedure is fairly straightforward. Since my grip is not what it used to be I wanted to use slip-joint pliers to undo the water connection but the space was too tight. So, hugging the toilet, I used my thumb and forefinger from one hand the my thumb of the other and managed to get it off.
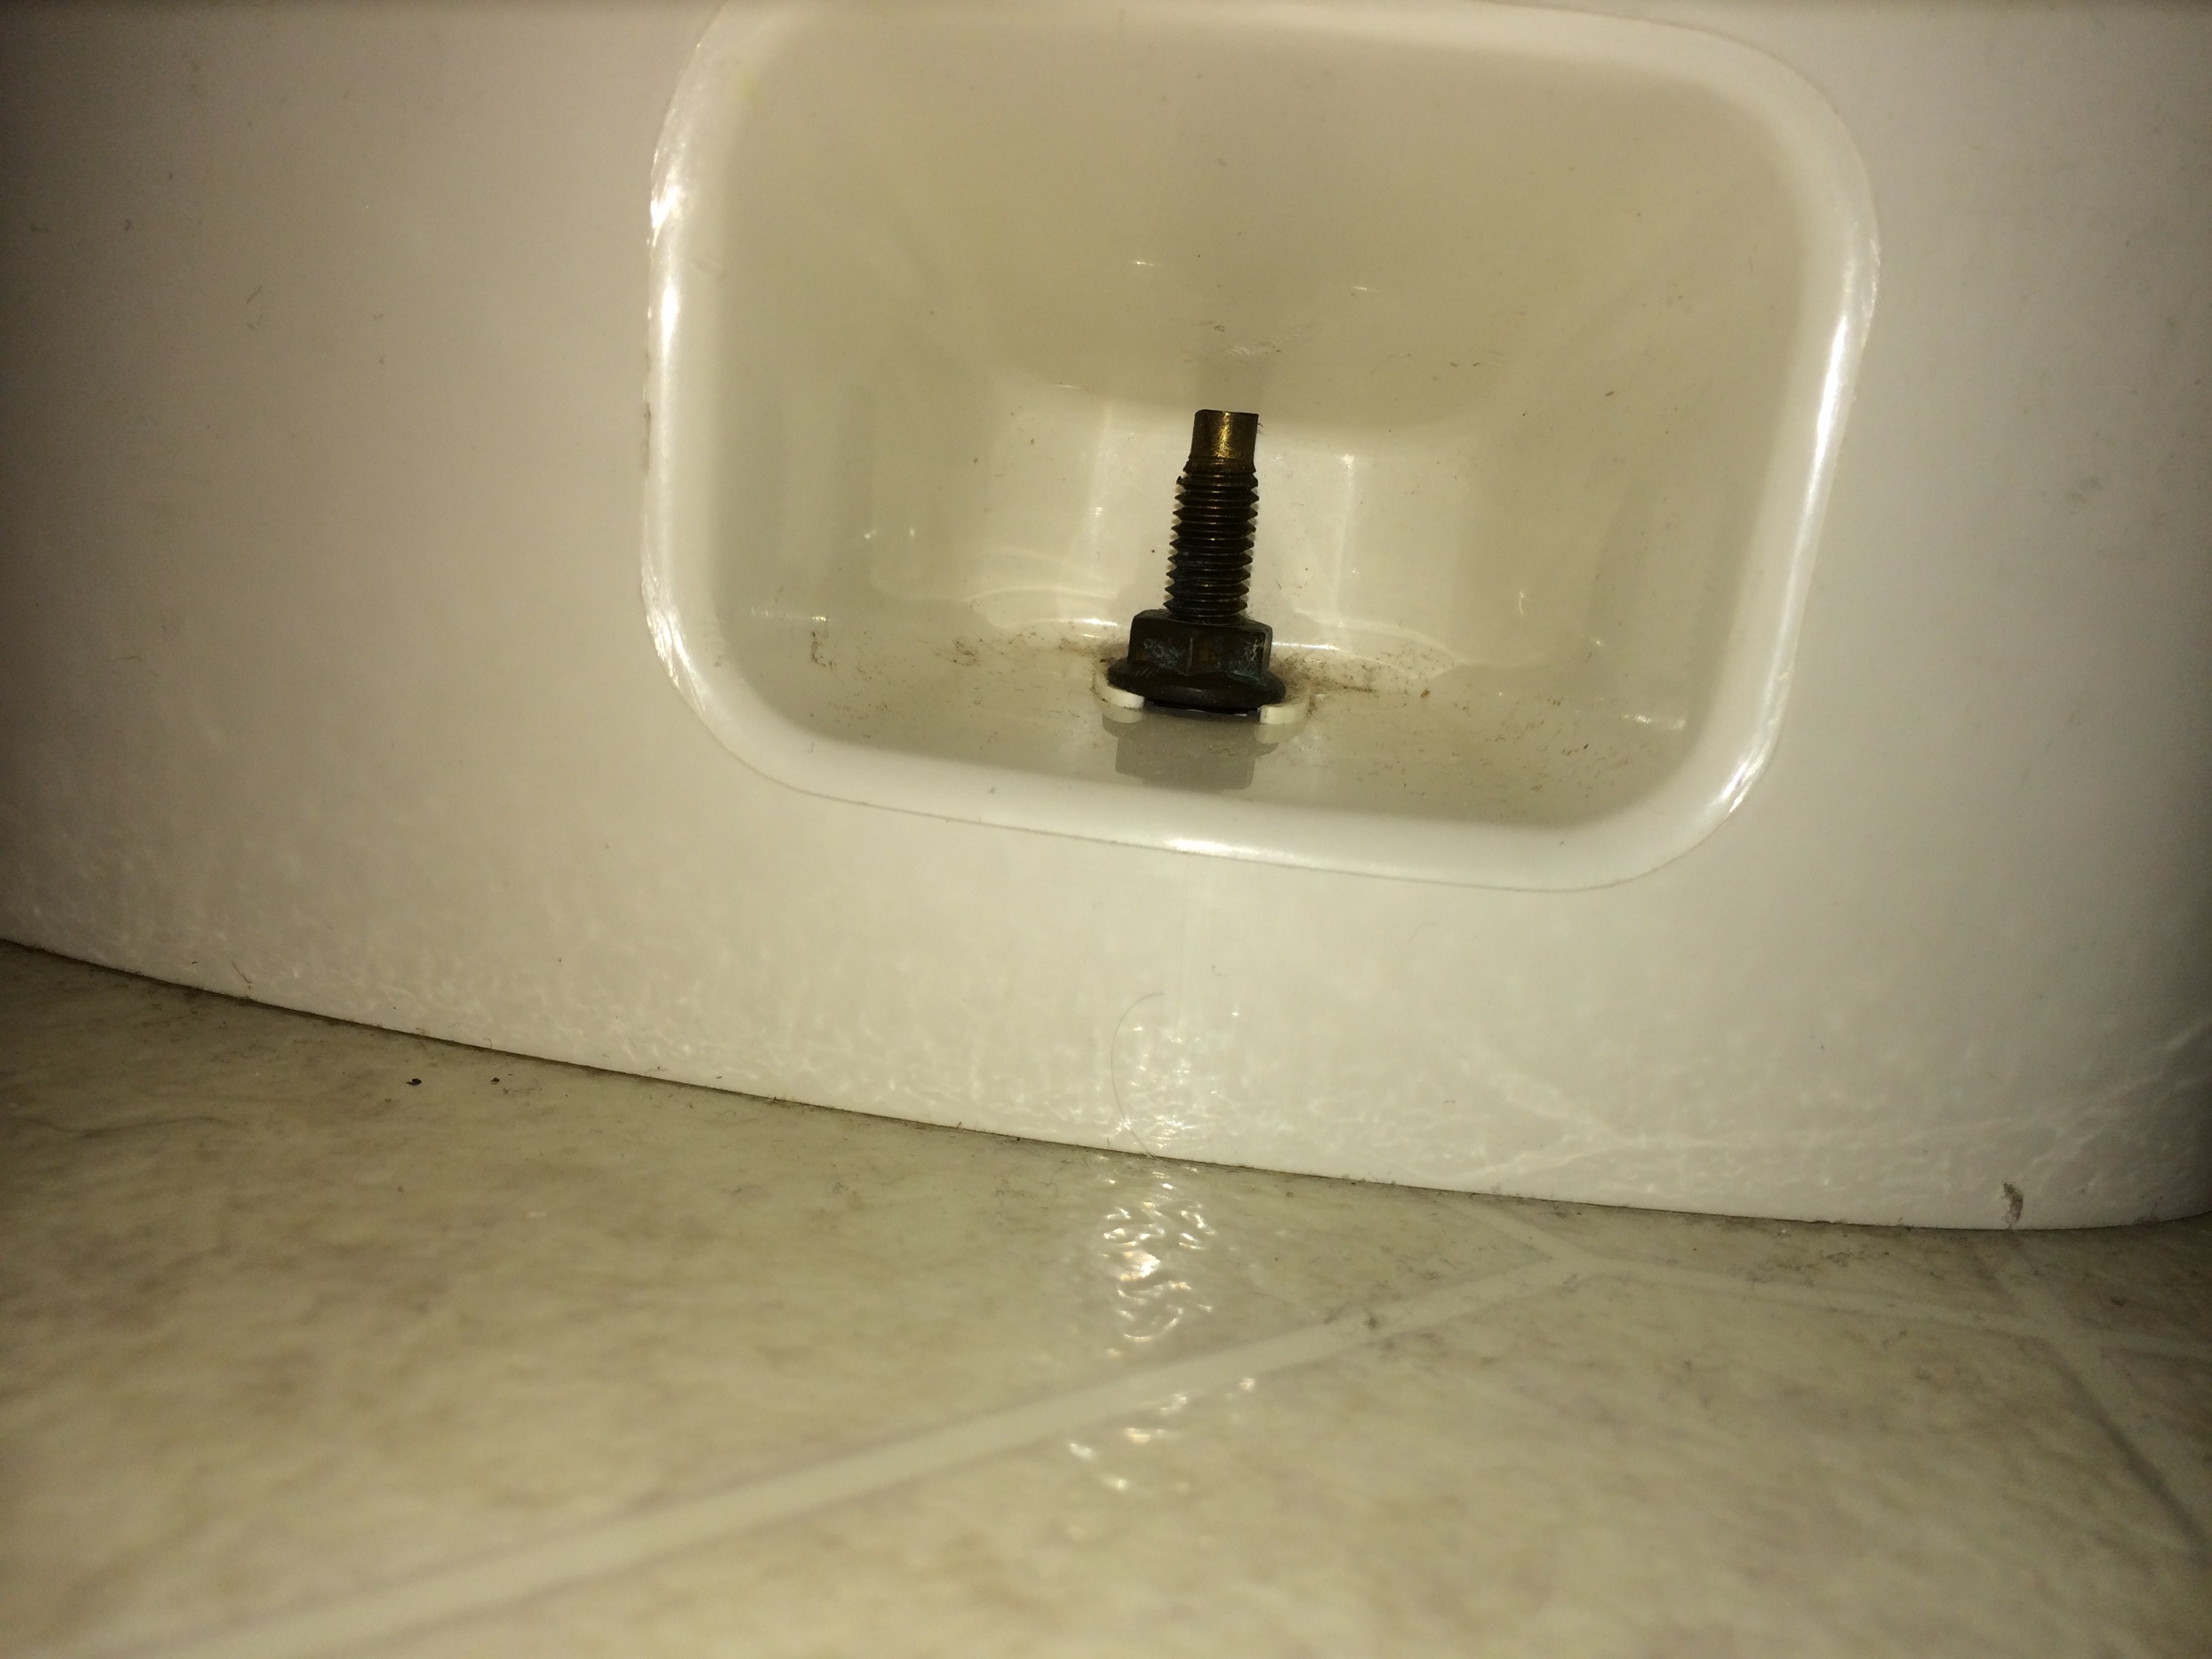
One instruction I read said to use a box wrench on the flange bolts. But it wouldn’t fit over the top of the bolt so I used an open ended wrench. They came off pretty easy.
I really expected the toilet to be bone dry after winterizing and it sitting for months. It wasn’t. Not quite anyway. And if you have ever worked on any kind of drain you already know the kind of gunk you will find, even after being “dry” for an extended time. So have some towels handy. I used paper towels so I didn’t have to worry about washing yucky stuff.
I pictured having to reach through the bottom of the toilet up to my elbow to get to the blade seal. I didn’t even put my whole hand in to get to it. Again, it came out easily. The only problem I had with this part is that I let the blade close. I had to reach in with one hand and lift the blade over a lip while I worked the lever with the other hand. I couldn’t get the blade completely out of the way so I had to tuck the seal under the edge on one side. I pressed the new seal in and went around it a few times to make sure it was well seated. Then I let the blade close and went around the edge of that to make sure it was in place. After going around a time and not feeling any movement, I knew I was successful.
TIP: When you remove the toilet, the flange seal will likely stick to the floor. When you replace the toilet put the flange seal on the toilet, not the floor. I learned this trick from wax rings and household toilets.
Installation went smoothly. I pressed the toilet in place, snugged up the flange bolts then put more weight on the toilet to get it seated well. Lining up was easy as there was a plain outline on the floor because our rig is 15 years old. If your floor is unusually clean or new you may want to make a few pencil marks before removing the toilet – just in case.
TIP: Do not over-tighten anything. The flange, toilet and all the plumbing connections are plastic. The toilet should be tight enough to keep it from swiveling or rocking, but that’s all. Over-tightening could crack plastic or possible pull the flange loose from the drain. Water connections need to be checked under pressure and only tightened enough that they don’t leak.
From the time I unlocked the door to start the job till the time I locked it and put away my tools was only 27 minutes including gathering supplies – disposable gloves, roll of paper towels, 1/2” open wrench and the pliers I didn’t use.. On the handyman scale I would have to say that this is only two hammers out of 10. A simple repair.
The slip valve cover that blocks the odor is not closing and the flush piece on the side of the seat stays stuck in place . I can pull on the slip valve itself to close it but it stopped closing on its own . How do I fix this ?
There is a number of things that could cause this depending on your toilet model. These are usually spring loaded, so your spring may have broken or come off. But before taking everything apart, try to get some petroleum jelly in the slot to see if that helps.